Basic Movement
This is a post in the
pygame series.
Other posts in this series:
- Jun 10, 2025 - Getting Started with Pygame
- Jun 11, 2025 - Basic Movement
Basic Kinematic Animation - Movement first
2D frame based animation (2D kinematic animation) is easier to explain so we will start there.
2D kinematic animation is controlling the movement of an object without physics involved. We simply move in a direction at set intervals. To keep the speed of the motion same on different size screens we need to take time into account. We will make use of the number Frames per second or more accurately the time difference between each frame (delta time) included in our distance calculation. Don’t worry its quite simple. We ‘animate’ our character by swapping the image with another image every few frames or fraction of a second.
Get an image to move
Lets start with an image that won’t change. I’m going to use Kenney’s website for the 2d art to download the car racing bundle. It’s free to use with option to support his efforts. The site and link above is https://kenney.nl/assets/racing-pack
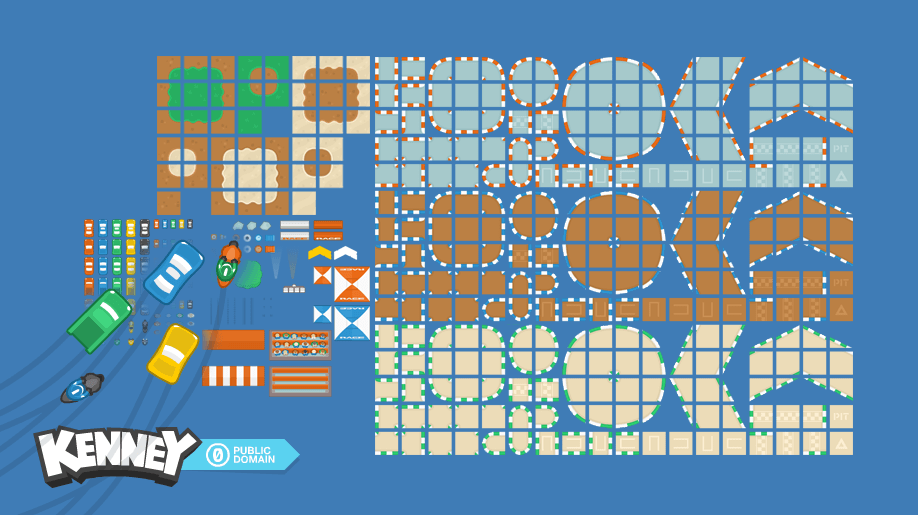
Click the download Link Once downloaded, extract the files from the zip file and inside it is three folders. We want the png folder for our static image. Lets grab a car from the cars folder and place it with our code. I’m going to use the first one in my list “car_yellow_5.png”.
After a while you will start to see the folder and code get messy. This is part of this tutorial series and I'll show you one way to clean up the code and folders. For now lets continue to focus on the task at hand.
Our folder now has two files

Add the following code above the game loop
car = pygame.image.load("car_yellow_5.png")
And the following inside the game loop
# draw the car at position 0x 0y
screen.blit(car, (0,0))
pygame.display.update()
Your code will look like this (Notice indentation is an important part of code ‘blocks’)
import pygame
from pygame.locals import *
pygame.init()


screen = pygame.display.set_mode((800,800))

pygame.display.set_caption("Car Game")

screen.fill((60,220,0))
pygame.display.update()


car = pygame.image.load("car_yellow_5.png")

# game loop

running = True

while running:

    for event in pygame.event.get():
        if event.type == QUIT:
            running = False

    # draw the car at position 0x 0y
    screen.blit(car, (0,0))
    pygame.display.update()


pygame.quit()
To keep track of the car position we can simply keep track of the positon of the image and PyGame supplies that for us with image.get_rect().
Just below setting the car image to the variable car add the following.
car_rect = car.get_rect()
and change the screen blit of the car to
screen.blit(car, car_rect)
You may see that we are still drawing the top left of the car at 0,0. So lets center the rectangle of the car to the center of the screen.
Add the following to just below the assignment of car_rect
car_rect.center = 800/2, 800/2
Notice we are not changing the rect size but simply changing its center to the center of the screen. We could use the top corner, but the center will make more sense in a minute.

close the window - we run it each time, but we on need to run the most recent changes.
Let’s move it using code
We know that our screen is 800x800 so we want to travel about a 50 points every second - we can adjust later)
Do you know that velocity is the speed multiplied by the direction.
velocity = speed * direction
so we are going right, lets say thats direction (1,0) and we want to travel 50 points.
Lets change the center of the car by (50, 0) every frame. Add this code just before the car blit
X,Y = car_rect.center
car_rect.center = X + 50, Y + 0
run it … and quit
The screen looked a little like

There are two obvious things wrong! And 1 less obvious until you try on a slower computer.
- the car draws over itself many times.
- its too fast to see.
- different computers have different speeds
Ok so we all know that speed is how fast we go per minute or per second. SO we can set our frames per second to 30 to limit the speed. But what if we ran this and the computer was only capable of 20 frames per second? The car would move slower.
Well we are going to draw the image every frame and if we know that length between frame drawings in time we can use that as our time (Time passed aka Delta Time).
fountunately this isn’t extra work for us, PyGame will give the time from the time between this one and the last frame using the same function to limit the frame rate.
Add the following at the top of the loop (just below the while)
dt = clock.tick(30)
this wont work unless we tell python what clock is so above that (above the loop anywhere after pygame is init-ialized) add the following
clock = pygame.time.Clock()
and we then use speed devided by dt. I.E. 50/dt
we change the code to look like this
X,Y = car_rect.center
speed = 50 / dt
car_rect.center = X + speed, Y + 0
That takes care of the speed - What about the drawing of the images?
Well its fairly simple - we need to draw our background first to clear the area below and then draw the car.
So We change the code again and just before the first blit in the loop we fill the screen with green again
screen.fill((60,220,0))
Now the movement is displayed correctly. Next we can adjust speed to work with other directions and go a little faster based on Key presses.
Previous