Introduction to Git

As a Go developer, you'll eventually need to manage your code effectively, and that's where Git comes in. Git is a powerful version control system that can help you track changes, collaborate with others, and manage code for your Go projects seamlessly. In this post, we'll cover the essentials of installing and using Git on your own Go projects.

Installing Git

Before you can start using Git with your Go projects, you need to have it installed on your machine. The installation process varies depending on your operating system.

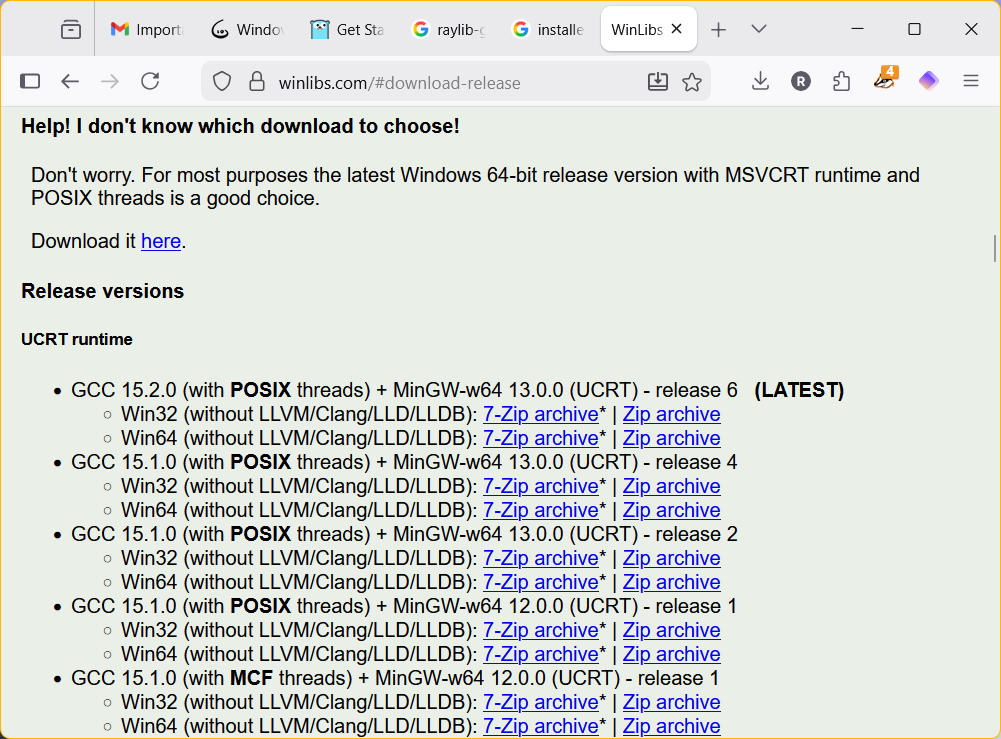
For Windows, you can download the Git installer from the official website. Once the installer is downloaded, run it and follow the prompts to complete the installation. It's pretty straightforward!

Full instructions here https://git-scm.com/install/windows

Once installed, you can verify the installation by running git --version in your terminal, which should return the currently installed version of Git.

With Git installed, the next step is to set up your Git environment. You need to configure Git with your name and email, which will be used in your commit messages. You can do this by entering the following commands in your terminal:

git config --global user.name "Your Name"
git config --global user.email "your.email@example.com"

Creating Your First Git Repository

Now comes the exciting part—creating a Git repository for your Go project! Navigate to the directory where your Go project is located. You can create a new directory for your project and cd into it, or you can initialize Git in an existing Go project directory.

To initialize a Git repository in your project folder, go to the project folder in your terminal. Type:

git init
git add .
git commit -m "initial commit"

This command will create a new '.git' subdirectory in your project folder, which is where Git stores all its version control information.

After initializing, you can start tracking your files. Use git add . to stage all the changes you want to commit. Follow this with git commit -m "details of the commit" to create your first commit.

commit details usually start with a verb like fix, change, add etc then what you did. i.e. "fix ticket 348, made change to the button click on the save button"

Also read up on '.gitignore' this keeps unwanted files out of the repository.

Soon you'll want a safe place to keep or share your repository, I suggest github or bitbucket. Create an account on one of them if you don't already have one. You'll want a SSH key (public and private). Both Github and Bitbucket will have explanations on how to use this.

Conclusion

Installing and using Git with your Go projects doesn't have to be daunting. With just a few simple steps, you can set up Git and start leveraging its powerful features to manage your code. The ability to keep track of changes and collaborate smoothly will definitely enhance your development workflow. So why wait? Dive into version control today!

Introduction

Are you ready to dip your toes into the world of game development using Go? If you’re a Windows user looking to get started with Raylib-Go, you're in the right place! In this guide, we’ll walk you through how to properly install Go and the Raylib-Go library, making your game development journey a smooth one.

Step 1: Install Go

The first step is to install Go, the programming language that powers Raylib-Go. Head over to the official Go website at golang.org/dl and download the Windows installer that suits your system architecture (either 64-bit or 32-bit).

Once downloaded, run the installer. It’s a straightforward process—just follow the prompts, and you should have Go installed in no time. Make sure to add Go to your system PATH during the installation; this will save you a lot of hassle later on! install go Step 2: Verify Go Installation

To check if Go installed correctly, open a command prompt (you can search for 'cmd' in the Start menu). Type the following command:

go version

If you see the version of Go displayed, congratulations! You’ve successfully installed Go. If not, double-check your PATH settings.

Step 3: Install WinLibs

Recommended (CGO)

Now that Go is up and running, we install WinLibs so you can compile and link the latest raylib-go and raylib to your app.

Head over to WinLibs at https://winlibs.com/#download-release and download the suggested download which is the best choice for windows 64 bit computers (if you have windows 11 you likely have a 64 bit windows). Choose the zip file unless you know you have 7zip installed.

Then extract the folder to a portable folder ... its a folder for executable apps that will be shared in your path. I created a folder called 'portable' in my home folder. Mine was 'C:\Users\ratpa\portable\'. You can use the top level of the C drive too if you have access.

Then on the task bar search for environment variables and add the path of your folder with a '\bin' tagged on the end. That is the executable folder. i.e mines is 'C:\Users\ratpa\portable\mingw64\bin' but could also be 'C:\portable\mingw64\bin' if you chose. NOTE- if you have the terminal open at this point close it and reopen so that it recognizes the new folder in the path.

Alternative (purego)

You can download the raylib dll (dynamic link library) directly from 'https://github.com/raysan5/raylib/releases' and then copy that into your project folder (we create that next) enter image description here enter image description here enter image description here enter image description here

Step 4: Setting Up a Basic Project

It’s time for some hands-on fun! Create a new directory for your project, and navigate into it using the command prompt. You can set it up like so from your home folder:

mkdir develop

cd develop

mkdir mygame

cd mygame

type nul > mygame.go

The last line created a simple Go file named mygame.go. You could also create a text file with windows explorer and rename it to 'mygame.go'. Being able to see the file extensions in file explorer is important else the rename doesn't work properly.

enter image description here

We will add your first Raylib code. Open your favorite text editor (notepad or vscode) and paste the following:

package main

import rl "github.com/gen2brain/raylib-go/raylib"

func main() {

rl.InitWindow(800, 450, "raylib [core] example - basic window")

defer rl.CloseWindow()

rl.SetTargetFPS(60)

for !rl.WindowShouldClose() {

rl.BeginDrawing()

rl.ClearBackground(rl.RayWhite)

rl.DrawText("Congrats! You created your first window!", 190, 200, 20, rl.LightGray)

rl.EndDrawing()

}

}

Save the file and then back at the command prompt type the following:

go mod init example.com/mygame

go mod tidy

go run .

If all went well, you should get a window just like the picture at the top saying "Congrats! You created your first window!"

This info can be found on the raylib-go site so you can verify your install that way too.

Conclusion

That's it! You've successfully installed Go and Raylib-Go on your Windows machine and created a basic game window. From here, you can start exploring more features of Raylib-Go to bring your game ideas to life. Happy coding!

You can learn here, but don't stop here.

The Go web site has some Go tutorials and a list of places to learn so does Awesome Go and many others.

Books and Tutorials

Go

A list of GO e-books https://awesome-go.com/e-books/

list of GO tutorials https://awesome-go.com/tutorials/

The Go Language Website - Learn https://go.dev/learn/

Exercism - recommended https://exercism.org/tracks/go teaches a few basics and then challenges you with interactive tests on the site so that you can practice what you learn

Avery makes games https://www.youtube.com/playlist?list=PLVotA8ycjnCsy30WQCwVU5RrZkt4lLgY5 this is one short series

learn go with tests https://quii.gitbook.io/learn-go-with-tests/go-fundamentals/hello-world. It does leave you with some questions especially when trying to get the second test file working, though it gives a very good idea how to make and use tests.

Raylib

I'll add some here as I build the list

Modules are important in GO. If you compile/build the project it will protest with an error if go.mod does not exist - we will get to this later.