Prerequisites
Look at the previous posts
- Using Python
- Start using docs to learn for Python and Git
- Have VSCode installed
We use python and Pygame, and this tutorial focuses mostly on using Pygame.
The game should look like this when done
Encouragement: Don’t let Others discourage you. We all hear it. If you listen you will never achieve your goal.
Repository
Git, Github and BitBucket provide instructions for using.
You will need
- the git client
- An IDE. VS-Code
VS-Code (or VS-Codium the open source build of the same project) is a decent choice to start with. The ide’s are free to use and come with plugins that support Python, Go, Odin etc.
Once you install Git on your computer and Create a repository it becomes fairly simple to Push the repository to a site like Github from VSCode.
I suggest you look at the git post (if it doesn’t exist here, then try Git, Github etc. They have plenty of info). Create a repository with a “README.md” and a python/VSCode “.gitignore”.
Create your python project
create a folder and open it or cd with a command line app.
initialize GIT
|
|
we have our project - lets fix our folder to be able to run the code. From the new folder (pygame-worm) run this:
- python -m venv .venv
On windows (Linux Mac read up on activating the virtual environment)
- .venv\Scripts\activate
And finally add pygame (to the virtual environment for our project)
- python -m pip install pygame

EDIT: above URL is old - to clone the repository for your project use
|
|
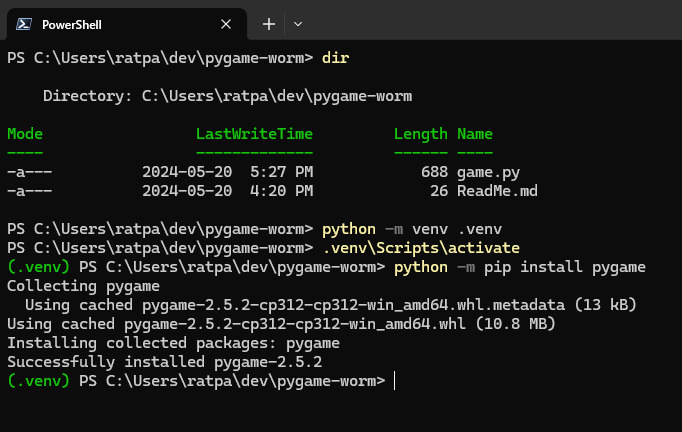
After creating and activating your “VENV”, install pygame - this puts it in the virtual environment
python -m pip install pygame
Finally
to finish off the environment create a file called “.gitignore” in the folder and add the following
|
|
These are files and folders we do not want.
You may also want to add an “assets” folder to it depending on your project.
The first few are common venv folder names. “.venv” is what we use.
pycache first appears when you create and include additional python files in your project.
.vscode is a folder that VSCode may or may not create, depending what you are doing with your code.
Set up and use VSCode
If VSCode is installed, from the terminal type
code .
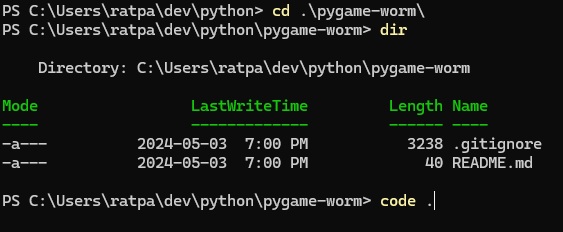
That will open VSCode and the project folder
Check that the following extensions are installed
- Python
- git graph (optional - source control graph is a new thing)
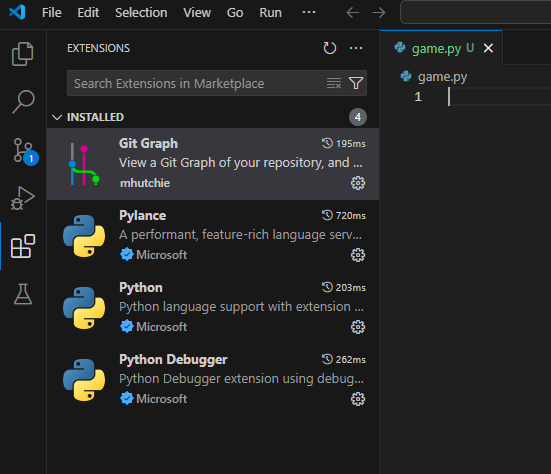
if not then install and restart VSCode (close and open again) to get things working correctly.
VSCode should detect the virtual environment and activate it. It may say something like this
Now your environment is ready!
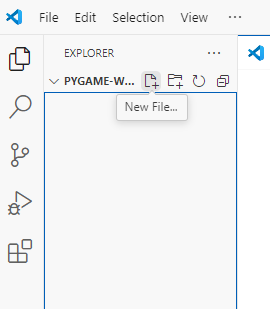
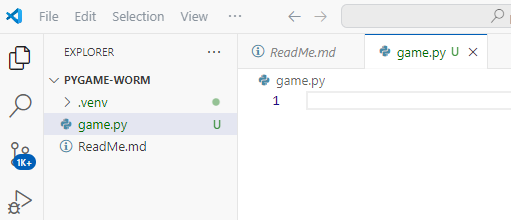
Create a game file
In VSCode select new file (first icon above the blue box in the image below) and create game.py
And paste the following code into game.py
|
|
The above code is commented so you can understand.
Comments are useful for learning/teaching. It is better to write clear and clean code than to comment. Comments usually mean that your code isn’t easy to understand, but they are useful for a number of reasons. If you write the code like documentation then use the ‘///’ triple forward slash so you can generate documentation
Run it,
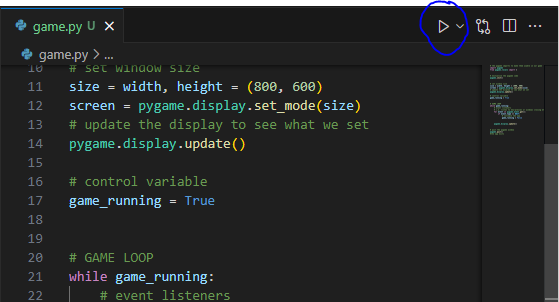
it will produce an empty window.
You should see a window that you can exit.
The Quit looks for the event to quit.
The game loop is what makes the game possible. It keeps checking for events and updating the screen with the current info until you quit the screen.
The display update draws the window.
We set the window size as 800 by 600.
Can’t exit the game? Close the window … No … kill it ctrl-alt-del - select task manager and click end task, or simply restart the computer. We will fix this and add pressing the ESC key once we set up input.