Build a Tetris game using Go and Raylib
Earlier we saw how to create a Raylib Go project.
This series assumes you understand the basics of Go. If not Take a look at my Go for Beginners Section. We will end up with a full Tetris Game and I will keep it simple enough if you know about variables and functions.
We are loosely basing this on a C++ YouTube tutorial found here
Make the project folder
Using a terminal copy this code. Open up your terminal app from your dev folder and type the following
|
|
then copy this into the main.go file we just created (like we did in hello.go)
|
|
Now from the terminal run
|
|
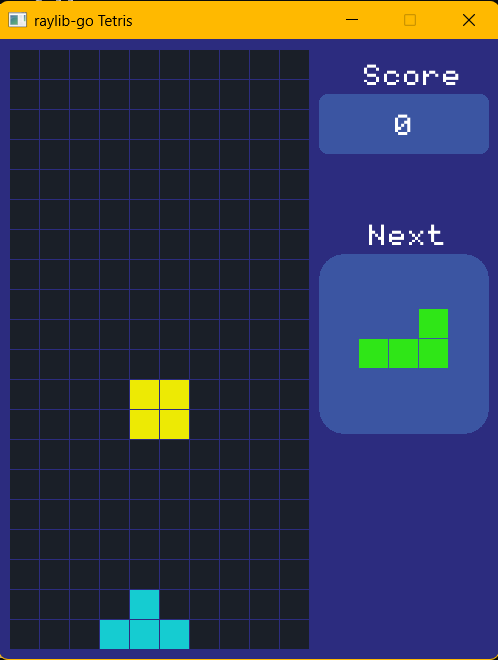
We should have a window like we did before. If not refer to the first project mentioned above.
Grid
What we want is something like this

First we need to:
- make a grid 10x20
- set and clear grid positions
- visual test our grid works as expected
We could create an array of 120 length and set NumCols to 10, and NumRows to 20.
var Grid [120]int
NumRows = 20
NumCols = 10
Why don’t we make it more flexible by using a Slice aka Dynamic Array? We can make it any size based on rows and columns. We can also clear and recreate between levels.
Above the main function add this
|
|
and in main we can add (after the defer window close)
|
|
This creates an array with the size of 200.
Go has a memory manager which makes it a high level language. However, it can’t manage memory allocated in C code which is why we use defer the Raylib close window function.
Ok so at some point we want to set values in the grid. We also want to do it multiple times throughout the game.
Let’s create a function that sets a value on the grid at a given row and col. We add this after the closing brace of the main function
|
|
Notice the Y is multiplied by the number of columns. This is because the array is 1 dimensional. i.e.
012345678901234567890123456789...
So each row is 10 columns 0->9 and the next one follows right behind. The second starting at position 10 (11th cell where 0 is the first)
To get the 4th row we multiply by (4-1)*number_of_cells_in_a_column i.e. position 30 or 31st cell.
Ok enough of the beginner stuff
We are not done with the function yet
What happens if we pass an invalid number into our function. It would be an error at runtime and that is something we want to avoid. Let us add out of range errors.
|
|
We won’t use the returned errors. Not yet! n.b. you should always, but we have no supporting code yet.
|
|
Here we set the values of two cells and the third should give an error. The column number is greater than the number of columns.
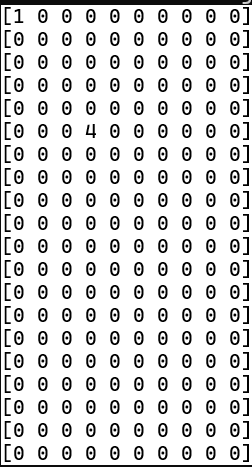
Now we want to test this (without writing tests) by using a function that prints all 20 rows to the terminal output.
|
|
We added “error” and “fmt” which is in the Core library but still needs to be imported into our code.
|
|
lastly we need to call the print function - add that below the setValAt function calls i.e
|
|
If we run this now, we should get the following being displayed in the terminal (unless you are hiding the terminal with a compile time flag)
Our final code in main looks like
|
|
NOTE:
Computer programming is a strange beast mostly because of people and the different standards they have.
I expect 3 things from you.
- Runs well
- Is easy to read
- All known bugs fixed
Is easy to read means ‘You can understand the code by looking at it’, even if it is a year later.
REFERENCE: Programming With Nick. Creating Tetris in C++ with raylib - Beginner Tutorial (OOP) url: https://www.youtube.com/watch?v=wVYKG_ch4yM