What
This post explains how to use Go and Raylib using the CGO method.
WHY (AI Overview)
Using raylib-go via the CGO method is often preferred for its deep integration with the original C library and its expansive platform support. The primary reasons for choosing this method include:
- Access to the Full raylib API: Using CGO allows the raylib-go bindings to directly call the native raylib C functions, ensuring that nearly all original features—including complex 3D rendering, shaders, and advanced audio—are available in Go.
- Direct Library Integration: The raylib C source code is often included and compiled alongside the Go bindings when using CGO, providing a self-contained environment that doesn’t require separate pre-compiled binary management.
- Broad Platform Compatibility: While Windows offers a CGO-less alternative, CGO remains the standard path for supporting many platforms like Linux (including native DRM/evdev for Raspberry Pi) and macOS.
- Knowledge Portability: Because the bindings closely mirror the raylib C API, developers can easily adapt tutorials, examples, and community solutions written for C or C++ directly into their Go projects.
- Performance for Intensive Logic: Using Go for the “business logic” while leveraging the high-performance C backend of raylib for rendering provides a balance between rapid development and runtime efficiency.
- System-Level Control: CGO provides the low-level system interaction necessary for a game engine that Go’s standard library does not expose by itself, such as direct windowing and GPU context management.
While CGO is the standard, developers should be aware of trade-offs such as slower build times and the requirement of a C toolchain (like GCC or Clang) on the development machine.
Intro
GO is high-level and has low-level performance. You should have a firm understanding of the basics within a few hours to a week.
You heard it was for server backends for websites? Its a general purpose language meaning it was designed for almost all scenerios including writing operating systems.
I will use Raylib for games and likely Gio for apps. other options Awesome-GO.
Windows users:
Terminal is a windows app that allows you to run powershell or cmd or other shells. If you using windows 10 or newer and it doesn't have terminal you can install via the store.
What we will need
- Go
- C compiler (for raylib)
You can use a common text editor and the terminal for the rest of the instructions
Get Go
Go to GO.DEV downloads follow the instructions for your system.
There are many ways to install the software. If you are unfamiliar and on windows then use the MSI.
Mine is a 64 bit computer, so I use go1.26.2.windows-amd64.msi.
I downloaded the MSI and ran it. You are asked to accept the terms and shown where the go files are installed.
Once done open a new terminal and type in
|
|
Now what?
Go installs itself in a few places. It will install a go folder under your home folder. This is for dependancies like raylib-go.
You can do your development anywhere. I usually have a dev folder in my HOME folder.
Old tutorials refer to a GOPATH -> you can ignore that now.
Go modules
This is used for a collection of go packages. Don’t worry about this now, but if you want to know take a look at https://go.dev/blog/using-go-modules
Create Your first Module
Make a folder for your projects
here are command line instructions
|
|
Above commands:
- puts you in your home folder
- makes a development folder for all future projects
- moves us into the development folder
- create a project folder called hello
- move into the project folder
Then do the following from the terminal
|
|
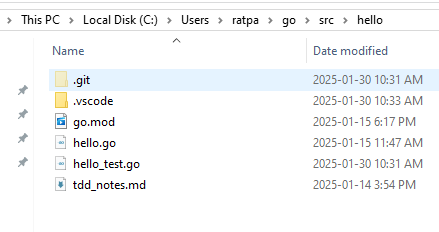
We create a file called hello.go and place the following code in it.
|
|
We can run this short app using this terminal command
|
|
The dot means ’this folder’. You can replace dot with hello.go
Great it should display “Hello, world” below our command if all is well
You can now run the following to make a module and Build our code
Check for package changes and dependancies.
|
|
Create an executable
|
|
Ok Go works!
Now Raylib-go
For this CGO menthod we don’t just place the raylib dll in the project folder. We need a c compiler which is not commonly on Windows.
You can refer to the raylib-go instructions
Windows Users
We could use the windows build tools though I prefer the open source compiler mingw64 to make my project.
The easiest way is to get Winlibs
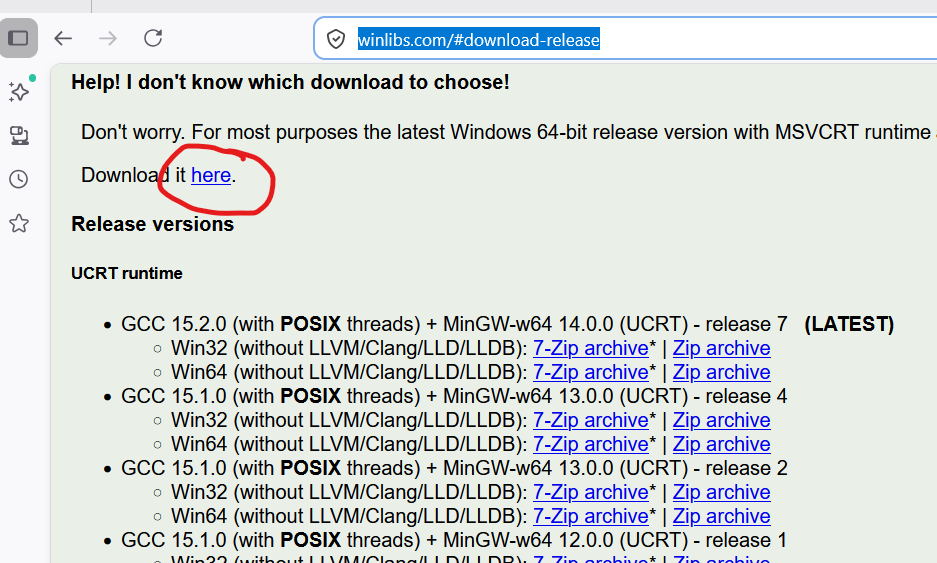
download and extract to a place where you’ll find it. I create a folder called portable in the C root folder or my home folder and add extract apps that “don’t install” there.
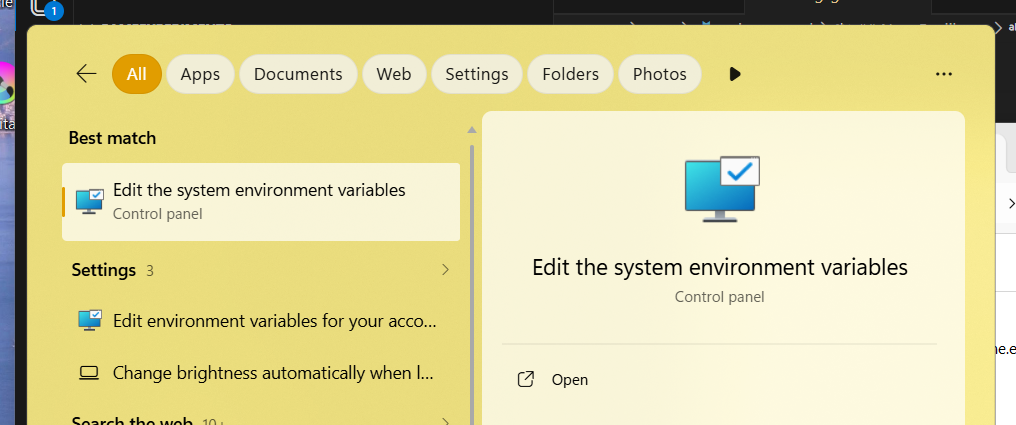
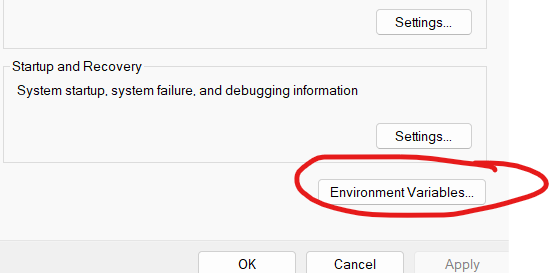
I extracted mine too C:\Portable\mingw64 and add C:\Portable\mingw64\bin to the PATH in my environment variables.

Close the Terminal and re-open. This now includes the new PATH variable.
Reopen the hello.go file and replace the code with the following code and save.
|
|
Run the following command again
|
|
and then run the app
|
|
Yahoo!
Where to learn more
The Go web site has some Go tutorials and a list of places to learn so does Awesome Go and many others.
Books and Tutorials
- A list of GO e-books
- A list of GO tutorials
- The Go Language Website - Learn
- Exercism.org - recommended teaches a few basics and then challenges you with interactive tests on the site so that you can practice what you learn.
- Avery makes games this is one short series
I suggest reading learn go with tests. It does leave you with some questions especially when trying to get the second test file working, though it gives a very good idea how to make and use tests.